To continue with the OTRS posts, a basic one should be on how to change the language of the user interface. This is a very simple task to achieve, but it’s still an important one. We’re also going to see how to update the language packages because they tend to be incomplete, so it’s not a bad idea to translate some of the texts that are not yet translated.
GUI language and look
Step 1 – Login: login with your user.
Step 2 – Settings: go to the settings page, by pressing your user name on the upper right corner.
Step 3 – Edit preferences: in the User Profile panel, you’ll see the Language and Skin options.
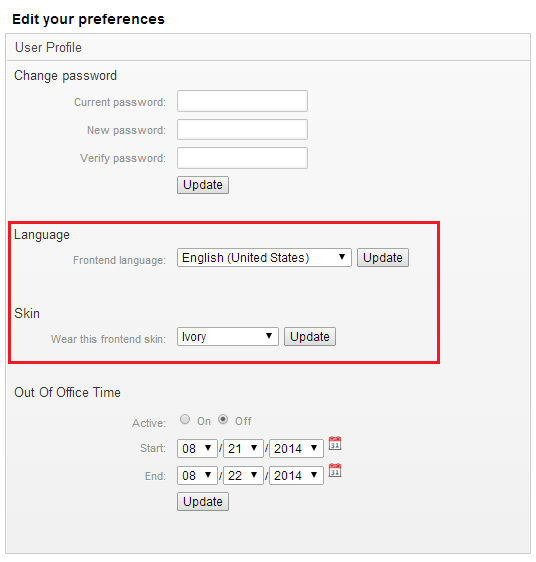
3.1 – Languate Selection: below the Language option, select the language of your preference. For this post I’m going to choose Spanish.

3.2 – Skin Selection: below the Skin option, select the skin you want to use. The differences between Ivory and Default is the color. The Defaut’s skin main color is orange, while the Ivory one is light blue. Besides the Default and Ivory skin options, you get the Slim option for both skins. The difference is that the Slim option makes the navigation bar a little bit smaller.
For this post, I’m going to choose Ivory (Slim).

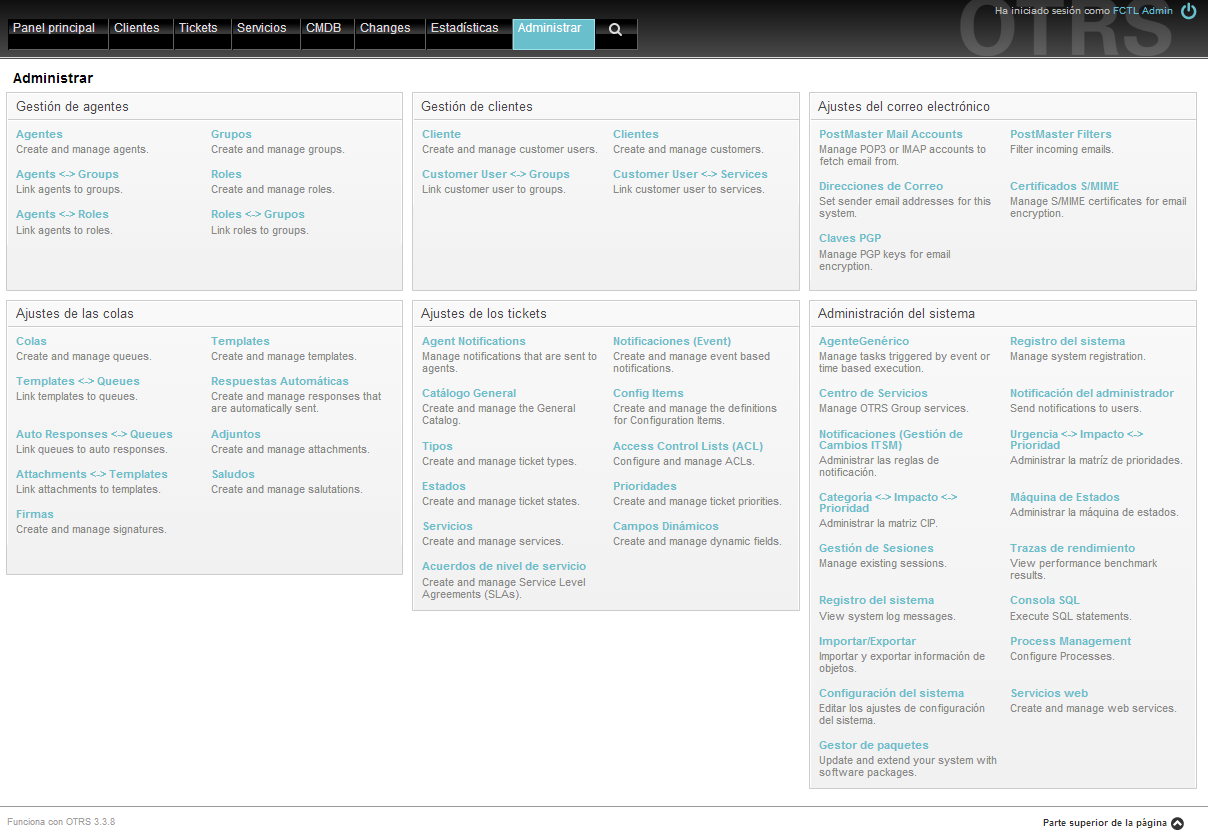
Press Update to update the skin. Your GUI should now look different from what it previously looked. This is a screenshot for the Admin tab with the Ivory Slim skin and in spanish language.
This is everything for the language and GUI modifications. We’ll now continue with how to translate language packages.
Language package translation
As you can see in the last picture, not all text is in spanish. To correct this, let’s focus the Gestión de agentes panel for translation.
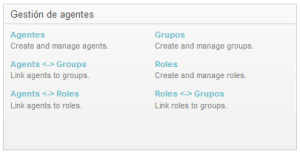
Step 1 – Text to translate: make a mental copy of the text you want to translate. Text can’t be copied in this particular place because everything is a button. In this case, I’m going to translate:
"Create and manage agents." => "Crear y administrar agentes."
 "Create and manage groups." => "Crear y administrar grupos."
 "Agents <-> Groups" => "Agentes Grupos"
 "Link agents to groups." => "Asociar agentes a grupos."
 "Create and manage roles." => "Crear y administrar roles."
 "Agents <-> Roles" => "Agentes Roles"
 "Link agents to roles." => "Asociar agentes a roles."
 "Link roles to groups." => "Asociar roles a grupos."
Step 2 – OTRS directory: go to your OTRS installation directory, it’s generally in “C:\otrs”.
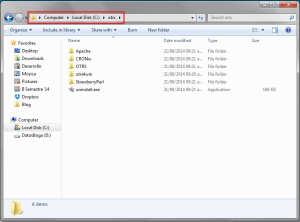
Step 3 – Language directory: go to “%YourOTRSInstallation%\OTRS\Kernel\Language”. In this directory you’ll see a bunch of .pm files. Look for the one you picked in the language selection. These files are named after the ISO 639-1 language coding, so check this link for your language’s code. In this post we’re going to look for es.pm file.

Step 4 – Open file: open the .pm file with your favorite text editor. For this post, I’m going to use Sublime Text 3, but feel free to use whatever text editor you want.
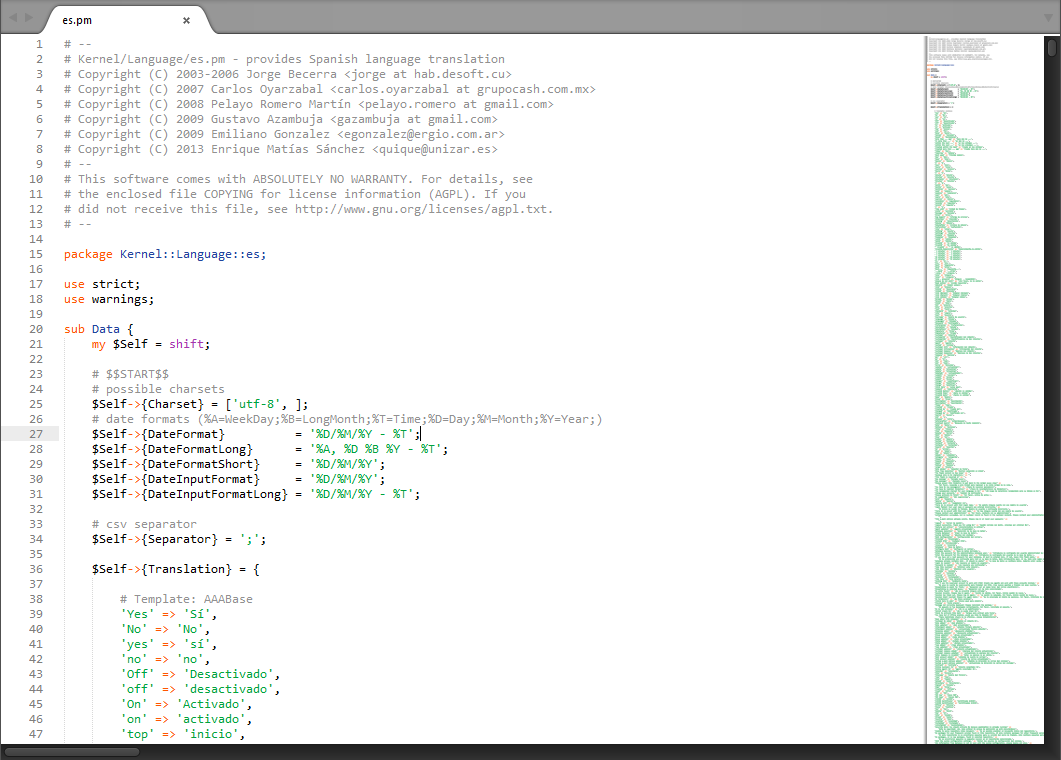
Step 5 – Find the text: press Ctrl-F paste the text you want to translate and press enter.
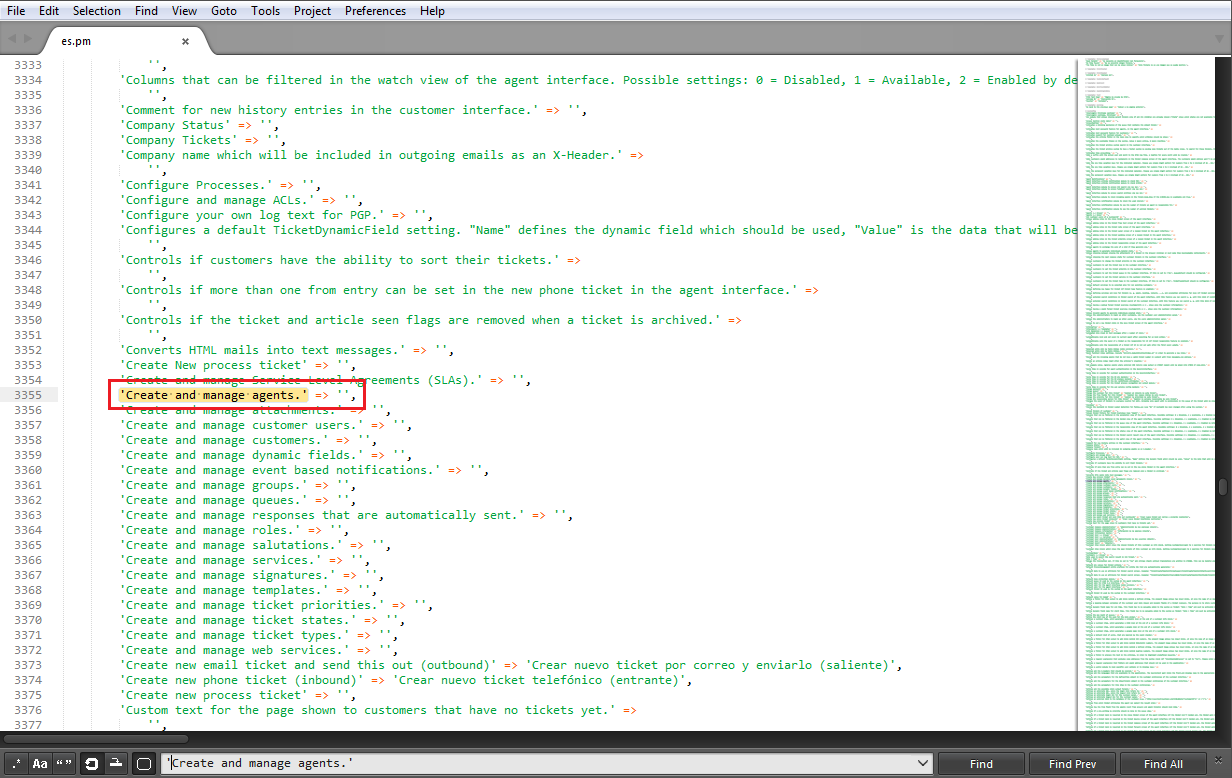
Step 6 – Translate: as you can see in the screenshot below, there’s no text after “=>”. This means there is no translation for this text. To translate this text, type its translation in between the quotes like this:
![]()
Repeat this process for every text you want to translate.
Step 7 – Save package: after you’re done, save changes and close the file.
Step 8 – Refresh browser: refresh your browser to see the changes.
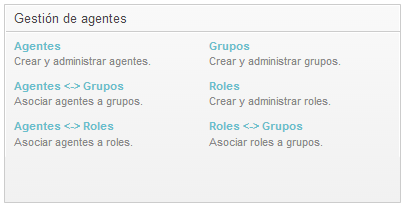
As you can see from the picture above, we’ve translated the entire Administrar agentes panel from the Admin tab.
So, this is it for this post. I hope this is of utility for you and your company, specially if your native language is not english.
See you on the next one, but before I leave, here’s a quote from Geoffrey Willans, an english author and journalist, about languages:
You can never understand one language until you understand at least two.
‒Geoffrey Willans
